I know it's early, but this is something that has to be printed and sent out in the post for the winning design. This week's task was a competition for a Christmas Card. It had to be A6 for print, at 300dpi, and it had to contain santa, or a santa-like-creature/machine/thing.
Obviously it had to trend towards computer games, and jolly - so no dead Santas... I decided to head down a GTA influenced design.
Here is my submission:
I wanted a quick but efficient process so I decided to go for a photo-mash-paintover. This was a great technique which meant that I didn't have to get too bogged down with proportions and lighting. My main concern for this project was to get something presentable, stylised, and visually appealing. I think I achieved this goal, I am very happy with the outcome.
The image below contains the images that I had to mash together to try and obtain my final composition.
Click the link below to download my .PSD file to check out my layers. I have deliberately left some which I didn't use, as I feel these help explain some of my thought process.
I drew the majority of the image using the lasso tool and picking limited colours, often trying to reuse colours that I already had in the scene.
Another single week project (8.5 hours), but this time we had the topic of surrealism. To begin with I really didn't know what I wanted to model, but then I came across a few images which I created my mood board from.
I particularly liked the bottom left image, the idea of humans being manufactured, and leaning away from the organic build we have.
Straight away I had an idea that our face and identity is just a mask for who we are. Take of the mask and it's just another skeleton, a piece of a machine that's been roaming the planet for years.
I remembered we used a skeleton last year, so I knew I could just re-use the skull from that mesh to get my idea across. My main priority were the following:
Learn how to destruct a mesh, and control it's forces
Practice poly modelling a face
Practice lighting & rendering in 3DS Max
Trying to achieve my first objective I set out exploring ways to explode a mesh. The first two options I found would have been the easiest, however at the current time I could not afford to purchase the plugins. These are RayFire, and Demolition Master (which although provided a free trial, required Thinking Particles 5).
So I had to set about finding an alternative. I stumbled across some tutorials that talked about a built in plugin called Reactor which has it's own help documentation in 3DS Max however AutoDesk did not want to continue paying the licence fee's (apparently) and so this was removed in 2012 and up. Taking it's place was the PhysX-based engine called MassFX.
I eventually found an amazing tutorial on YouTube (although using a slightly older version, the important points were still there).
As part of the tutorial, you need to break up your object you wish to shatter, this is done by using a .MS (Max Script) file named Fracture Voronoi. This can be downloaded on ScriptSpot.
Using Fracture Voronoi
Here are the steps for using Fracture Voronoi:
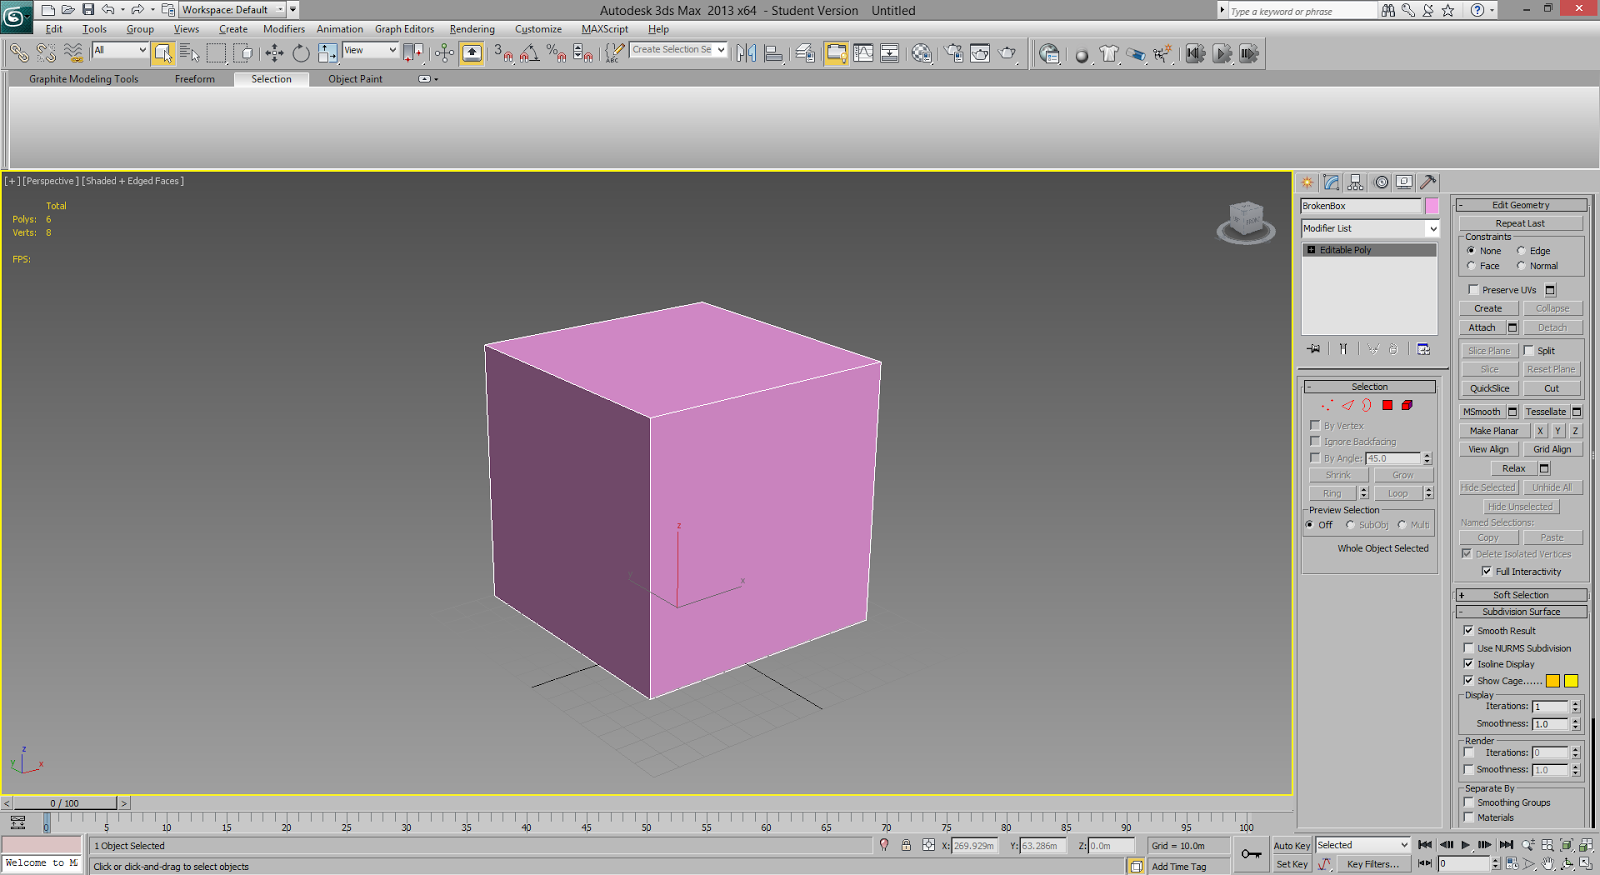
1. Have you model you wish you be broken in scene:
2. Run the downloaded script:
3. The following steps for the Fracture window needs to be checked EVERY TIME you split an object as the 'Picked' object needs to be changed to one of the newly created objects, and the 'material ID' will increment so this needs to be changed back to the correct value.
4. Pick object and copy the following settings (Note. I've selected New Mat ID 2 as Mat ID 1 will be my outside Texture):
5. Click Break and watch the magic happen! If you checked 'Multi Color' instead of 'Uniform' your model will turn into a rainbow and you won't be able to use the "Select by colour" tool in max (which is useful once your model is completely split):
6. To make it look more shattered, break parts near the break point into smaller parts. REMEMBER TO RE-PICK THE NEW OBJECTS CREATED:
There we have it. A model ready for the next step; MassFX.
Using MassFX
Now you have a broken model, it's time to make it react with physics. For this example we'll simply be using gravity.
1. First of all, it's good to have the MassFX tool bar loaded. To do this, right click on an empty space on your current toolbar, and simply tick "MassFX":
2. After splitting your model up, it actually converts it to an editable mesh. So make sure you convert ALL your new objects back to an editable poly:
3. With all objects still selected, press and hold on the icon on the toolbar that looks like a moving ball, and select "Set Selected as Dynamic Rigid Body":
4. Click the first Icon on the tool bar to open up the MassFX Tools window. In the first tab, we're going to leave all these settings as default. Note however the setting "Use Ground Collisions" and the Paramaters under Global Gravity. The ground collisions part is important to us as we have not created a Plane in the scene for the blocks to fall onto. If I did, I could un-check this, and set the plane as a "Static Rigid Body" from Step 3. The Directional Gravity is literally telling the object to travel on the Z axis, with a direction of -9.81m (9.81 meters per second is the velocity of which objects fall when affected by gravity). (note: my scene units are set to meters in this example, if yours is not, you may have to convert this to whatever unity system you are using):
5. Now click onto the third tab. This is where we define the material of our object, and give it it's unique properties. The first checkbox on this menu let's us delay our animation if we wanted to, the object just needs to be set as static or kinematic first. This is great if you are shooting a ball at a mirror like explained in the youtube example, however our model here is just going to break on it's own! So we want to scroll down a bit and give it a property of Concrete:
6. There's one last step to go before you're finished, and that's to just test that it's working how you expected. To do this, simply click the Play button the the MassFX toolbar. So long as it's all ok, in the MassFX Tools window, click the second tab, and click "Bake All". This will add your animations to keyframes so that they are saved:
7. Now put some lights on and do a render! I'll just do a single frame for reference:
Once I had learnt this, I tested it on a model I had already made. Just to test textures etc:
Making of my Final Scene
So now I had the tools I went ahead and built my scene. The first task was to build my mask. I first attempted this in Mudbox, however where the mask is so smooth, and hard edge, I found this very difficult! I definitely need more Mudbox practice. So I went back into 3DS Max and poly modeled it.
I did have some issues with geomtry and trying to eliminate Tris. I think I done an Ok job for the time that I had, however I would like to practice face topology a little more, on the other hand, a mask is still mechanical and I realise that the topology may not be exactly the same on a real face any way.
Here is my final mask:
There is just 1 last technique that I used for my final piece. That is Light Volume. I used this to simulate the light in water. This is a simple option found in the Modify panel under "Atmosphere and Effects". You click the add button followed by "Volume". It looks best with Directional Lights.
So now that you know all my secrets, here is my final piece: